webpack脚手架搭建(2)
初始 generator
既然使用了yeoman就不要耽误功夫自己配置脚手架的目录结构了,直接使用yeoman的generator-generator搭建脚手架项目如下:
.
├── generators/
│   └── app/
│       ├── index.js
│       └── templates/
│           └── dummyfile.txt
├── .editorconfig
├── .eslintignore
├── .gitattributes
├── .gitignore
├── .travis.yml
├── .yo-rc.json
├── LICENSE
├── README.md
├── package.json
└── __tests__/
    └── app.js
在generators目录下的文件就是编写脚手架的主要文件,其它文件都不用管的,其中:
app/index.js文件是generators的默认执行文件,执行yo <generator>的时候首先会查找该文件并执行app/templates就是默认的模板文件目录,可以放任何项目文件
推荐一种相对简单的方法是直接在templates下率先编写好项目,例如安装webpack这些工具,运行并测试,最后将项目的node_modules文件夹删除,然后在
generators内部直接将这些模板文件以及package.json复制到指定的目录下即可。
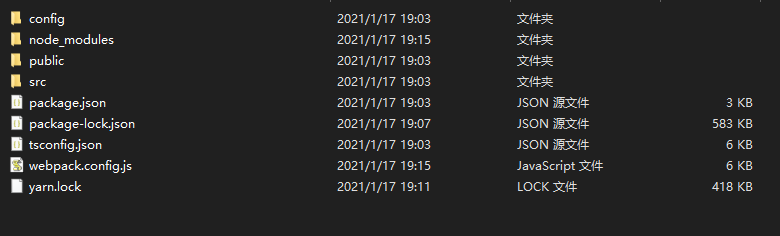
创建模板项目
在app/templates下建立这样的项目结构,这就是一个完整的项目目录,如果执行npm install 安装完依赖包,就能直接运行的模板项目。
templates
├─ config
│    └─ cssModuleConfig.js
├─ package.json
├─ public
│    ├─ favicon.ico
│    └─ index.html
├─ src
│    ├─ App.tsx
│    ├─ components
│    │    └─ Button
│    ├─ index.js
│    └─ pages
│           └─ page1
├─ tsconfig.json
└─ webpack.config.js
└─ package.json
编写 generator
在app/index.js下写入如下内容,这里需要注意的一步是最后一步安装依赖的过程,使用this.destinationRoot修改目标路径,这一步是相对而言的,因为我的脚手架具有指定项目目录的参数appname,就像create-react-app那样,指定创建项目的目录,例如执行yarn create react-app myProj实际上是在myProj目录下写入模板文件,同时执行npm install等命令也要相对于这个目录,所以必须执行this.destinationRoot(this.options.appname)修改成当前目录。
'use strict';
const Generator = require('yeoman-generator');
const chalk = require('chalk');
const cowsay = require('cowsay');

module.exports = class extends Generator {
  constructor(args, opts) {
    super(args, opts);

    // 注册命令行参数
    this.argument('appname', {
      type: String,
      required: true,
    });
  }

  prompting() {
    this.log(
      cowsay.say({
        text: `Welcome to the epic ${chalk.red(
          'generator-custom-react',
        )} generator! Let's go`,
        e: 'oO',
        T: 'U ',
      }),
    );
  }

  writing() {
    this.fs.copy(
      this.sourceRoot(),
      // copy到指定的appname
      this.destinationPath(this.options.appname),
    );

    // 读取package.json,并修改配置
    const packageJson = this.fs.readJSON(this.templatePath('package.json'));
    const configJson = {
      name: this.options.appname,
      ...packageJson,
    };
    // 将目标路径下package.json替换成修改后的内容
    this.fs.writeJSON(
      this.destinationPath(`${this.options.appname}/package.json`),
      configJson,
    );
  }

  install() {
    // 必须
    this.destinationRoot(this.options.appname);
    this.installDependencies({
      npm: true,
      bower: false,
      yarn: true,
    }).then(() =>
      this.log(
        'Everything is ready, please run yarn start to activate your app',
      ),
    );
  }
};
发布
generator项目必须发布到npm上才能被安装执行,所以需要最后编写完需要进行发布。
npm发布需要三个步骤
注册账号
打开npm 注册,随便输个容易记住的账号和密码即可
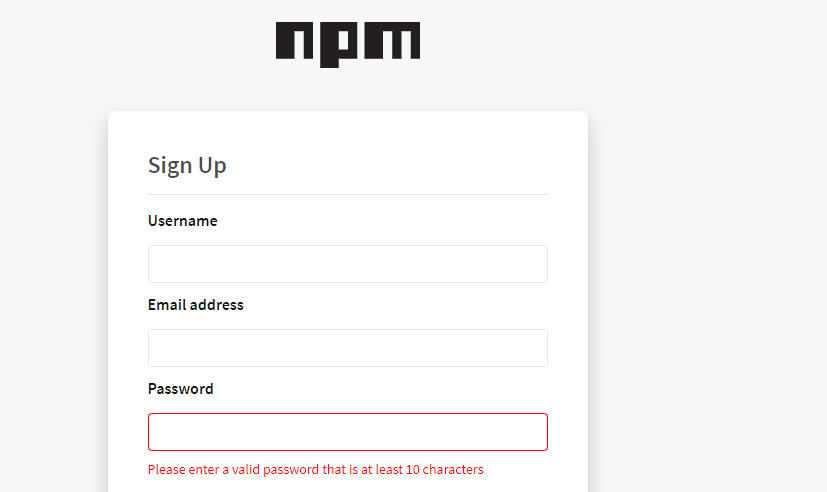
登录 npm
在generator目录,注意是generator根目录,不是templates目录等其他路径,执行npm login登录到npm。
注意,这里可能要修改一下npm registry地址,例如从taobao源改回来
npm config set registry http://registry.npmjs.org
npm login

如果要登出,可以使用npm logout命令,不过需要执行registry地址
npm logout --registry=https://registry.npm.taobao.org
修改 version
在发布前别忘了每次发布都要修改一下package.json文件的version字段,且不能和以前重复。
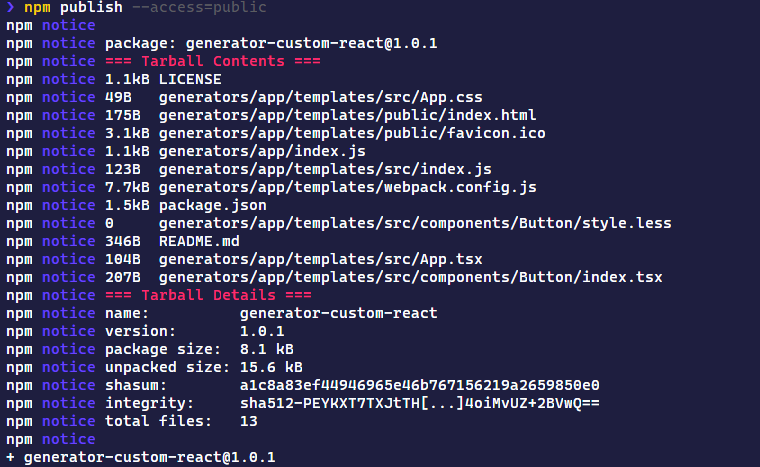
执行发布
执行发布的命令是npm publish --access=public,access是指定发布的package是公开的,只会作用在个人或者组织的package上。因为npm在个人或者团体注册的时候会默认将个人或者团体注册作为命名空间限制package,这样你的package就可以和其它人的package同名。
但是非付费用户,必须指定access=public,因为其默认值是restricted。
npm publish --access=public
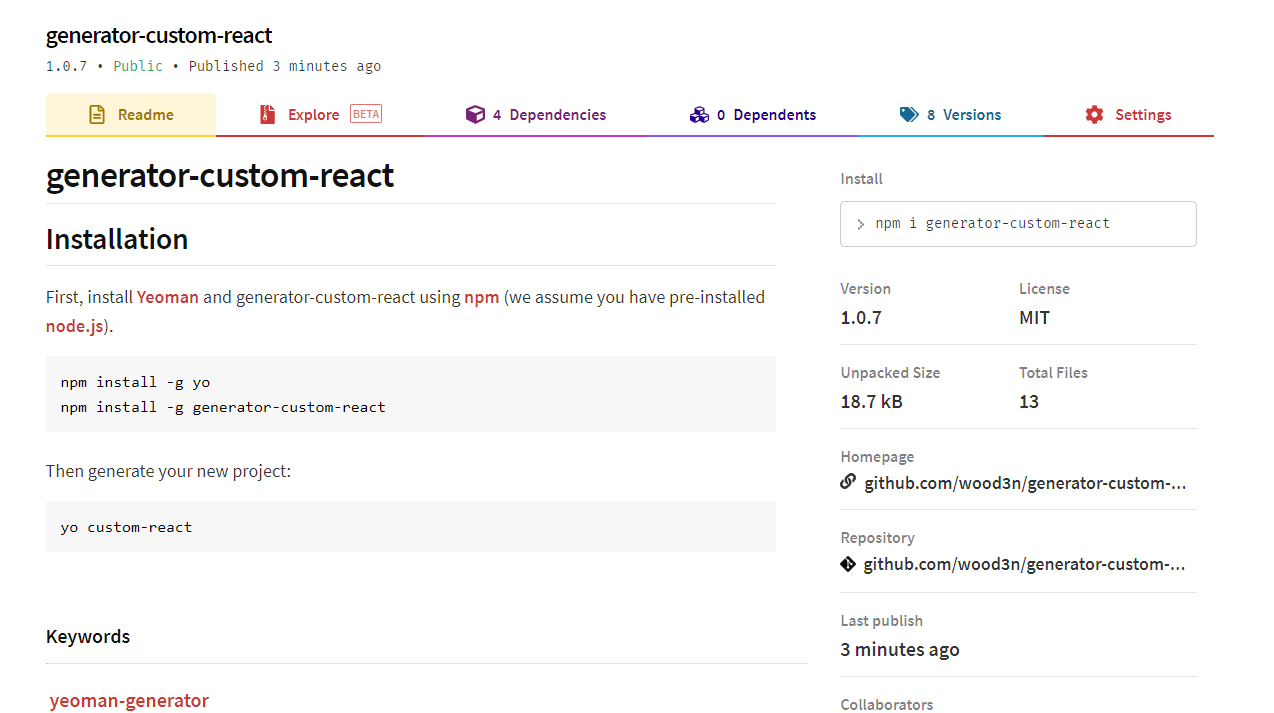
测试
现在就可以在npm官网找到刚才发布的package了
根据generator的介绍,测试一下
yarn global add generator-custom-react

yo custom-react cra
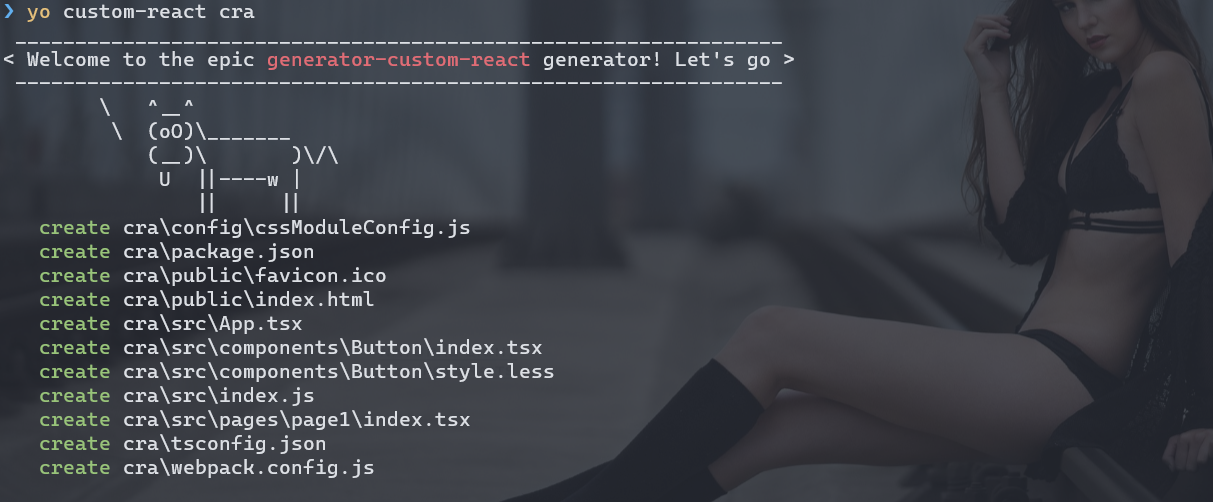
等待一段时间,模板文件和依赖都成功写入了指定cra目录下
更新
可以通过执行yarn global upgrade来更新脚手架的版本
yarn global add generator-custom-react